MacにおけるGNS3内で、 VirtulBox上のVMを使用できるようにする方法を調べましたので、記載していきます。
準備
あらかじめ、 VirtualBoxをインストールしておきます。なお、VirtualBox自体のインストール方法は割愛します。
VirtualBox側の設定
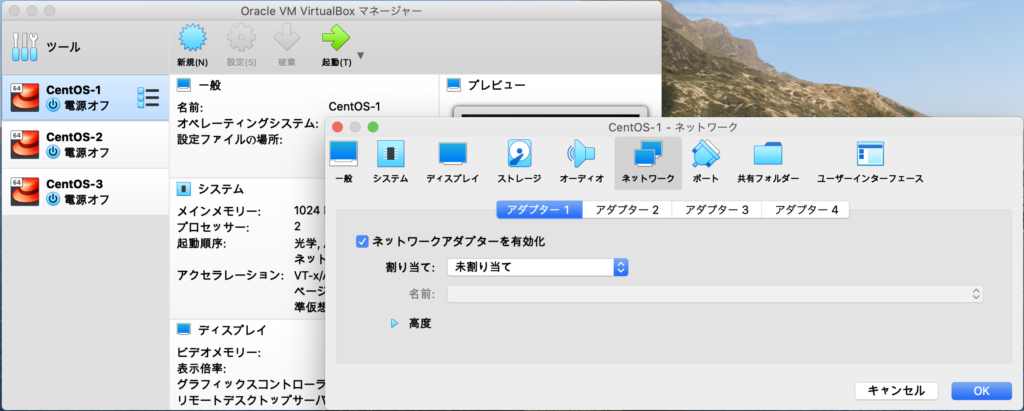
GNS3で追加したいVMをあらかじめVirtualBox内で作成しておきます。
[設定] - [ネットワーク]タブ – [ネットワークアダプターを有効化]にチェックを入れます。この時、[割り当て:]を[未割り当て]を選択します。今回は、「CentOS-1」「CentOS-2」の2つを追加していきます。
GNS3側の設定
先ほど作成したVMをGNS3側で使用できるようにしていきます。
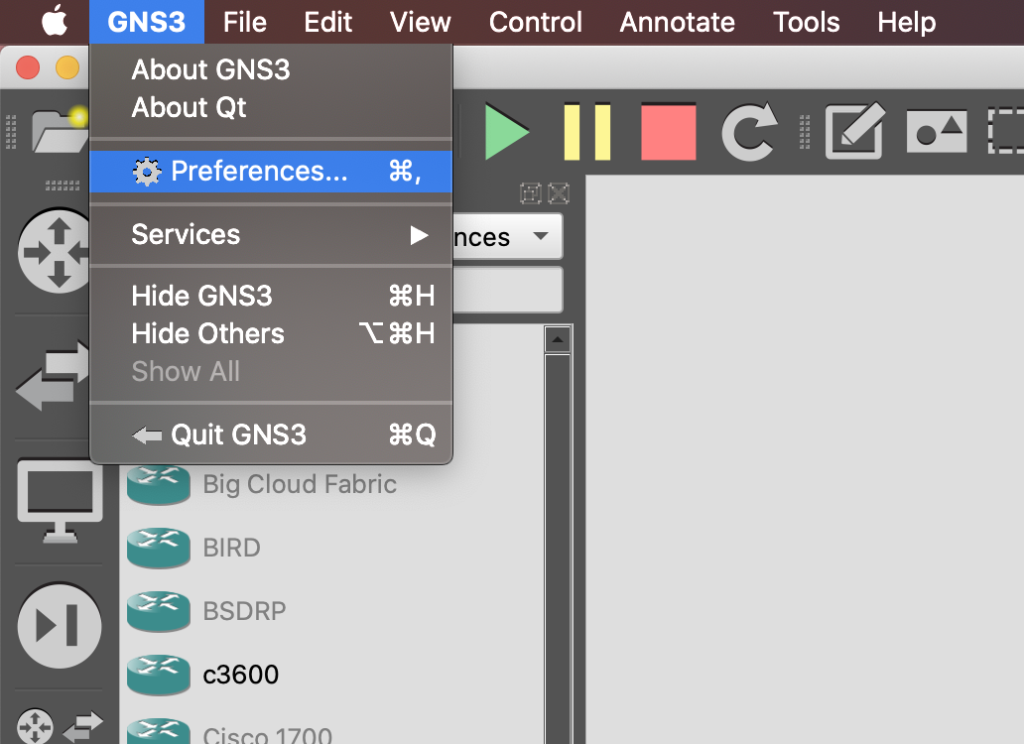
まず、[GNS] → [Preferences]を選択します。
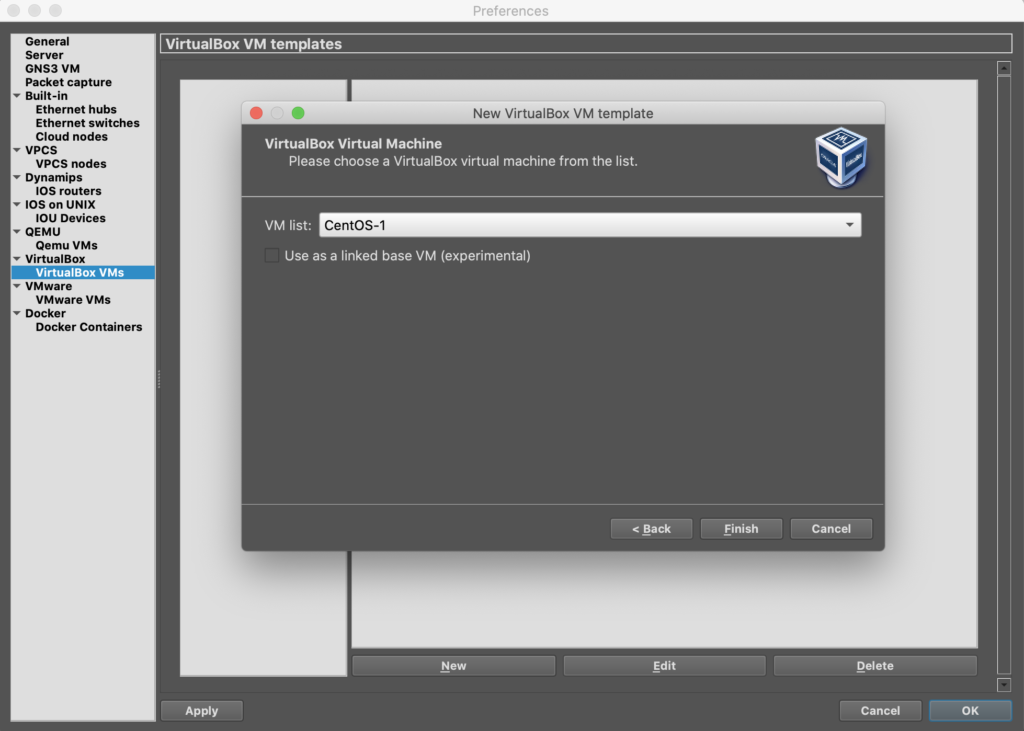
次に、[VirtualBox VMs] → [New]を押下し、[VM list]であらかじめ作成しておいたVMを選択し、Finishを押下します。
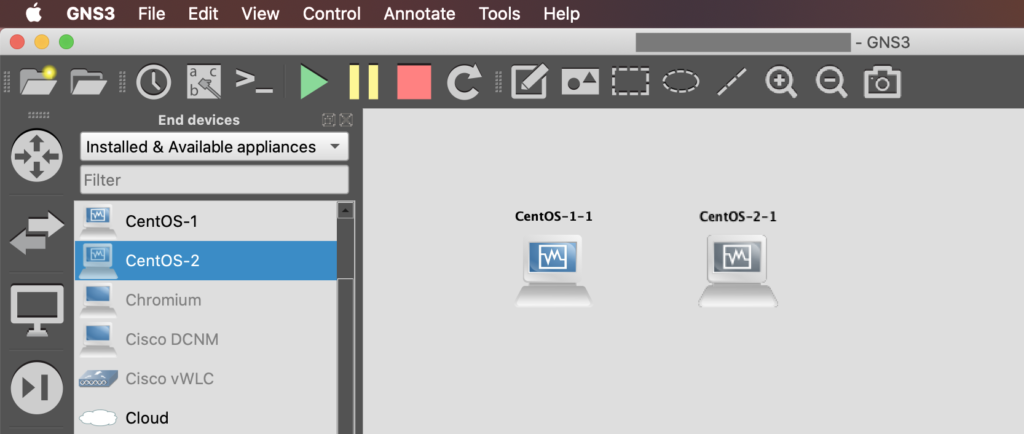
これでGNSのテンプレートに先ほど選択したVM名が追加され、他のRT等と同じように扱えるようになります。